Running your own Read Later Service with Raspberry Pi and Pinboard
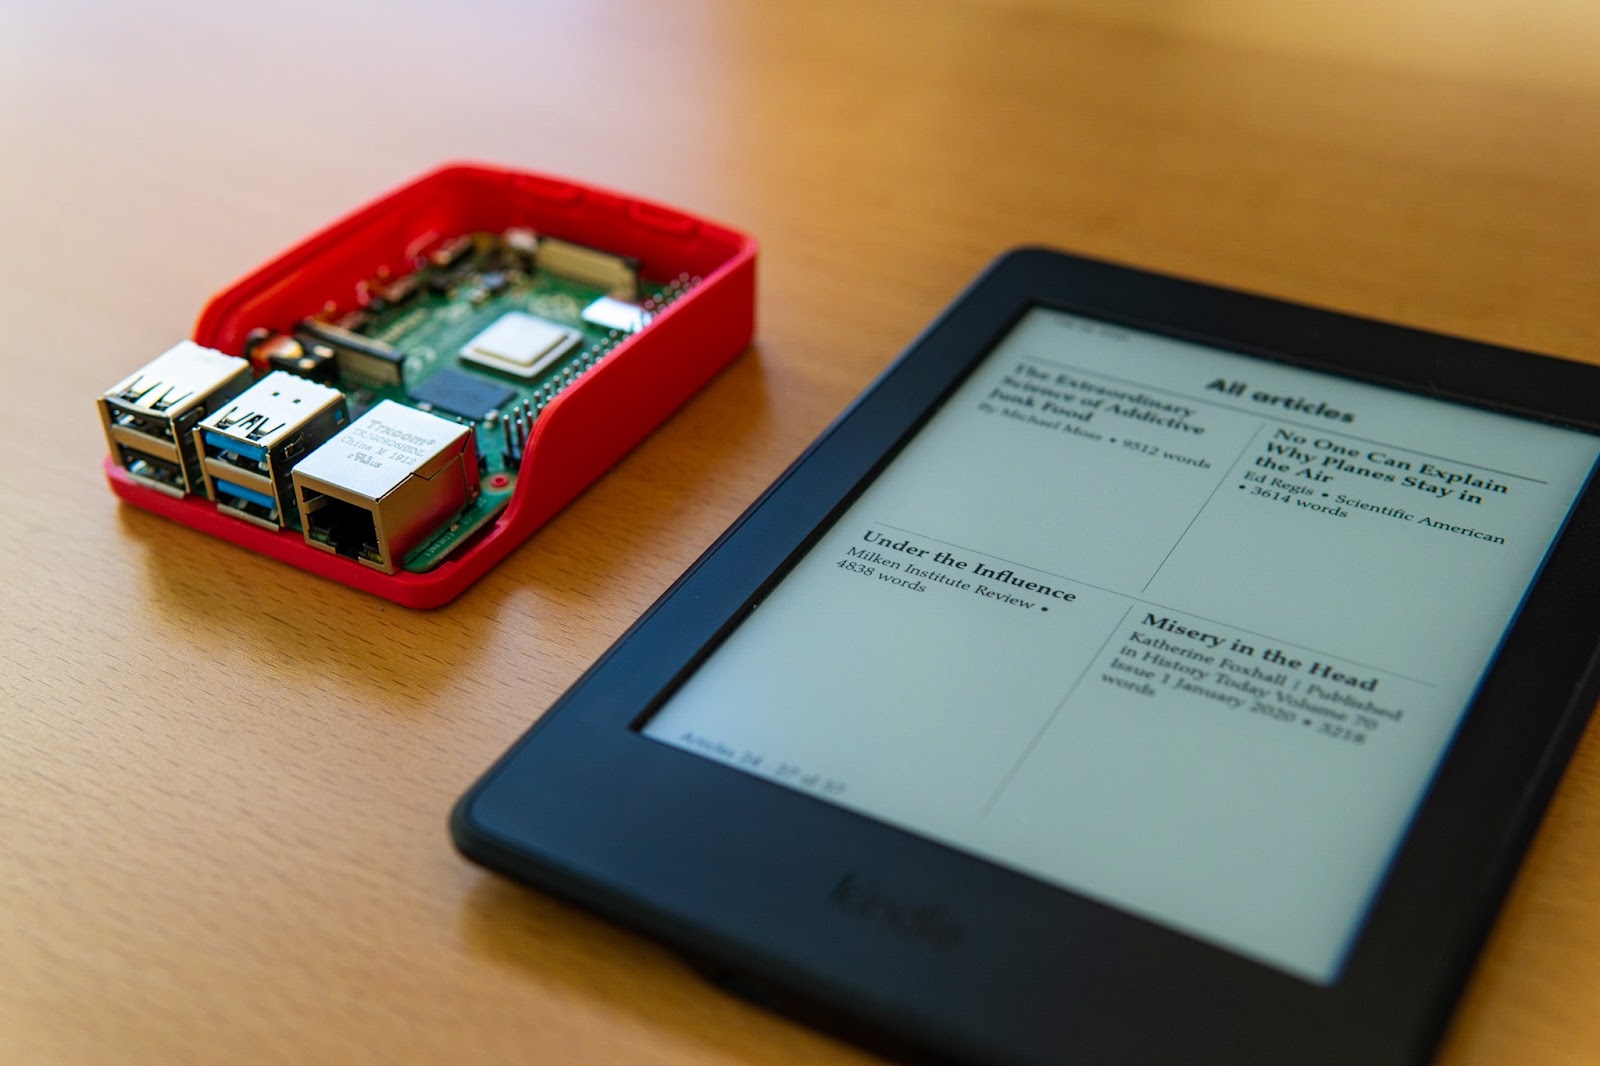
The Kindle is easily my favorite reading device. It’s E Ink display is exceptionally legible, the battery lasts a whole month and direct sunlight doesn’t render it unusable. Plus, I do a lot of reading before going to sleep where –unlike a smartphone or tablet computer– the Kindle doesn’t blind me with screen light or interrupts me with notifications.
When I’m using my phone or computer I often come across articles that I’d like to read on my Kindle. In the past I’ve used Instapaper which once per day delivers an eBook containing saved articles to your Kindle. Although it has worked well for many years I found that recently it failed to properly extract content from many websites. Moreover, it bothered me that Instapaper’s eBooks do not show any of the images embedded into articles.
Having tried out different alternatives (including P2K and crofflr) that were either above my budget and/or didn’t provide the quality and reliability I would expect, I’ve decided to build my personal Read Later service.

The result is Pinboard to Kindle which compiles your unread Pinboard bookmarks into eBooks using Calibre, Mozilla’s Readability library and other open source components. In this article I will show you how to set up your own low-cost Read Later service using Pinboard to Kindle and a Raspberry Pi.
Prerequisites
Besides familiarity with the Linux command line (for total beginners, here is a crash course) and a computer with SD card reader, you will need a Raspberry Pi, a power supply and a Micro SD card. There is no need for tons of processing power or exceptional IO performance, so feel free to use any old Rasperry Pi and Micro SD card you have lying around. The Raspberry Pi should however have at least 1 GB of RAM and the SD card should have a capacity of 8 GB or more.
I did not own a Raspberry Pi to begin with but I can call myself lucky to have a Micro Center in walking distance (which is probably the best place in the universe to buy a Raspberry Pi – mine even sells refurbished models for significantly less). Below are the components I’ve used, for a total cost of roughly $46 + tax:
- Raspberry Pi 4 Model B - 2GB – $30
- 16GB microSDHC Card – $3
- USB-C Power Supply – $8
- Raspberry Pi 4 Official Case – $5
Moreover, you will need an email account with SMTP access to deliver eBooks to your Kindle. I strongly recommend to not use your personal email account, as your Raspberry Pi will have full access to your mail box. Instead, sign up for an email account at a provider that offers sending attachment of 25 MB or more so that you can send larger eBooks with possibly many images to your Kindle. Both Yahoo and Gmail allow up to 25 MB in attachment size and should be good choices.
Installation
Use the Raspian Pi Imager to copy the latest version of Raspian onto your Micro SD card. Select Raspian Lite as there is no need for a Desktop environment. Before booting up your Raspberry Pi, refer to this article on how to enable SSH.
Once Raspian is installed, SSH into your Raspberry Pi and change the system’s time to your local time zone:
sudo dpkg-reconfigure tzdataThen update all packages and install Pinboard to Kindle’s dependencies:
sudo apt-get update && \
sudo apt-get upgrade -y && \
sudo apt-get install -y --no-install-recommends git wget nodejs npm calibre firefox-esr
Geckodriver is another dependency of Pinboard to Kindle and unfortunately it is a bit of a pain to install on Raspian. Mozilla stopped publishing ARM builds so the only option is to build Geckodriver from source. To do this, first download Mozilla’s testing repository:
cd ~ && \
wget https://hg.mozilla.org/mozilla-central/archive/tip.zip/testing/ -O mozilla-testing.zip && \
unzip mozilla-testing.zip && \
cd mozilla-central-*
Now follow the instructions over at Mozilla for building Geckodriver. Once built, copy the build artifact geckodriver to /usr/local/bin:
sudo cp target/armv7-unknown-linux-gnueabihf/release/geckodriver /usr/local/bin/Having all dependencies installed, we can move on to cloning the Pinboard to Kindle repository:
cd ~ && git clone https://github.com/christianhans/pinboard-to-kindle.gitPerform npm install in pinboard-to-kindle/fetch-article-moz-readability:
cd pinboard-to-kindle/fetch-article-moz-readability && npm installIn order to set your Pinboard token copy your token from this page and replace username:A3F...HG78 below with your actual token:
echo 'PINBOARD_TOKEN="username:A3F...HG78"' >> ~/.pinboard_config.envThat should cover the installation and configuration of Pinboard to Kindle. Now we can install the Postfix mail server which will allow us to deliver eBooks wirelessly. When asked by the Postfix installer, select Internet Site:
sudo apt-get install s-nail mailutils postfix libsasl2-modulesAppend the following lines to /etc/postfix/main.cf. Make sure to replace [mail.host.com]:465 with the SMTP server address of your mail provider. For example [smtp.gmail.com]:587 for Gmail or [smtp.mail.yahoo.com]:465 for Yahoo.
relayhost = [mail.host.com]:465
smtp_sasl_auth_enable = yes
smtp_sasl_security_options = noanonymous
smtp_sasl_password_maps = hash:/etc/postfix/sasl_passwd
smtp_use_tls = yes
smtp_tls_wrappermode = yes
smtp_tls_security_level = encrypt
message_size_limit = 0
Note: Raspian most likely already has added a
relayhostdirective to this file. Remove any duplicaterelayhostdirective to avoid warning messages during startup of Postfix.
Now we will need to store your email account’s SMTP credentials for Postfix. When running the commands below, replace [mail.host.com]:465 with the SMTP server’s address/port, your_email@here.com with your email address and YOURPASSWORD –you might already have guessed it– with your SMTP password:
echo "[mail.host.com]:465 your_email@here.com:YOURPASSWORD" >  /etc/postfix/sasl_passwd && \
sudo postmap /etc/postfix/sasl_passwd && \
sudo chmod 600 /etc/postfix/sasl_passwd.db && \
sudo shred -u /etc/postfix/sasl_passwd && \
sudo service postfix restartNote: Most mail providers require you to create an App password for SMTP mail access when 2-Factor authentication is enabled. Yahoo has an “Allow apps that use less secure sign in” option that needs to be enabled under your account’s security settings.
Send an test email to yourself to check if Postfix is set up correctly (again, replace your_email@here.com with your email address):
echo 'Test succeeded' | mail -aFrom:your_email@here.com -s 'Testing' your_email@here.comIn case you’ve successfully received the test email, set your email address as the sender address for Pinboard to Kindle:
echo 'MAIL_FROM="your_email@here.com"' >> ~/.pinboard_config.envOn Amazon’s Manage Your Content and Devices page click on the “…” buttom next to your Kindle and copy the device’s @kindle.com address. Set that address as the delivery address for Pinboard to Kindle:
echo 'MAIL_TO="you@kindle.com"' >> ~/.pinboard_config.envAs a last step, set up a Cron Job that runs Pinboard to Kindle oncer per day at 7pm and purges fetched eBooks once per week:
00 19 * * * eval $(egrep -v "^#" "${HOME}/.pinboard_config.env" | xargs) bash -l ${HOME}/pinboard-to-kindle/process.sh "${HOME}/pinboard-to-kindle/pinboard-to-kindle.recipe" "Pinboard"
# optional: delete files older than 1 week
0 3 * * 1 find ${HOME}/calibre-fetched -type f -mtime +6 -delete
Test run
By default Pinboard to Kindle only looks at bookmarks that are unread and have the tag kindle-to. Once a bookmark has been fetched, the tag kindle-to is replaced with the tag kindle-sent. Bookmarks are always kept unread when fetched, so that you can mark them as read after you’ve actually read the saved article. There is also an extension that allows you to mark articles as read directly from the Kindle itself.
The perform a test run, add a few kindle-to tags to your unread Pinboard bookmarks and execute the following command from the daily cron job:
eval $(egrep -v "^#" "${HOME}/.pinboard_config.env" | xargs) bash -l ${HOME}/pinboard-to-kindle/process.sh "${HOME}/pinboard-to-kindle/pinboard-to-kindle.recipe" "Pinboard"That command’s output should look similar to what is shown in the screenshot below:

Once completed, an eBook containing articles saved to Pinboard should be on the way to your Kindle!
Read Later Workflow
Now that your Raspberry Pi regularly delivers unread Pinboard bookmarks to your Kindle, we need an easy way to save articles for reading later.
Bookmarklet
On your computer, add this URL to your web browser’s bookmark bar or menu:
javascript:q=location.href;p=document.title;void(t=open('https://pinboard.in/add?later=yes&noui=no&jump=close&tags=reading,kindle-to&url='+encodeURIComponent(q)+'&title='+encodeURIComponent(p),'Pinboard','toolbar=no,width=100,height=100'));t.blur();When clicked, this bookmarklet will directly save the currently visible page to Pinboard as “To read” and assign both the tags reading and kindle-to.
iOS Shortcut
For iOS, I have created this Shortcut that can be added to your iPhone’s or iPad’s share menu:

Make sure to configure your Pinboard authentication token in the Shortcuts app. Similar to the bookmarklet above, this shortcut will save the currently active Safari page to Pinboard as “To read” including tags reading and kindle-to.
Wrapping it up
In this article I showed you how to use a Raspberry Pi and Pinboard to Kindle to regularly deliver unread Pinboard bookmarks to your Kindle.
Pinboard to Kindle leverages both Calibre and Mozilla’s Readability library to create nicely formatted magazines:
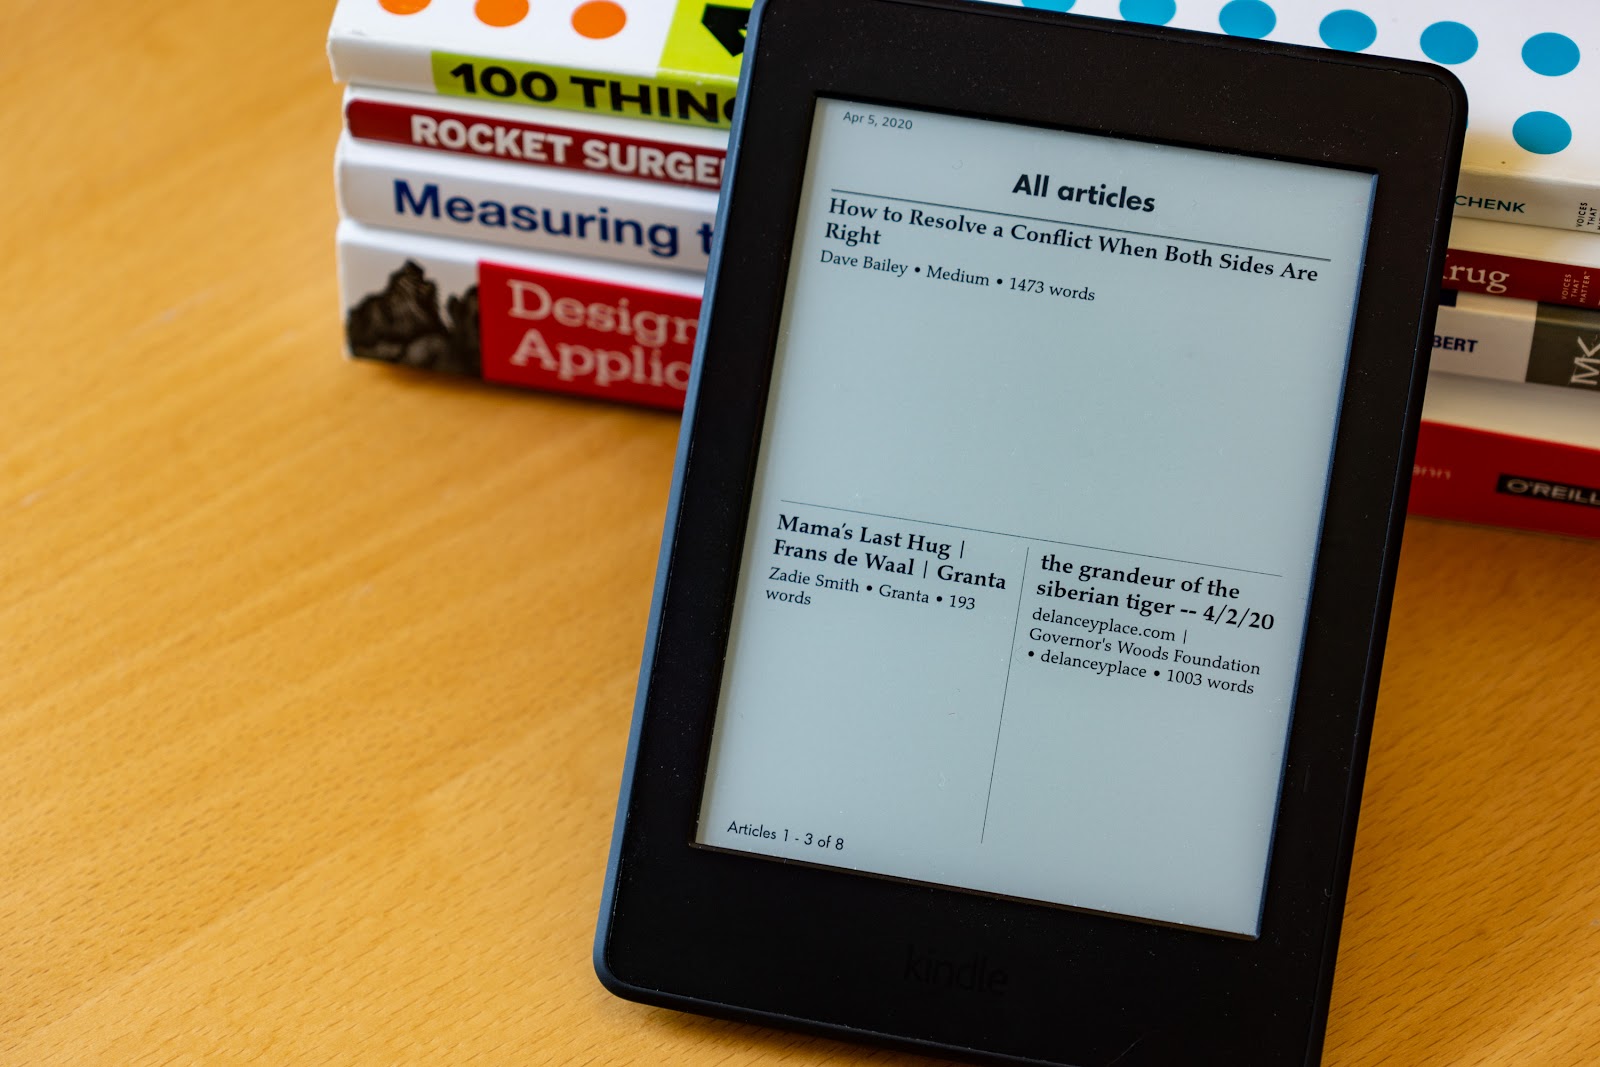
Readability extracts just the text and images you care about in an article, filtering out any non-relevant or distracting elements.
eBooks generated and delivered by Pinboard to Kindle also appear on the Kindle App:

I like to use the Kindle App whenever I leave my Kindle at home. Similar to the Kindle itself, eBooks can be read offline (very useful when riding the subway to work, where signal is spotty). Also, all reading positions are synchronized with the actual Kindle device.
As a next step, you might want to have a look at pinboard-mark-read, which can add a “Mark as read” link to every article delivered to your Kindle.
Comments